
Eyeliner is arguably the most transformative tool in a makeup kit. It has the power to define your gaze, lift your features, and add a touch of drama to any look. However, for many beginners, the prospect of applying liquid eyeliner is nothing short of terrifying. One wrong move and you’ve gone from a sleek “cat-eye” to a “panda-eye.”
If you’ve struggled with shaky hands or uneven wings, don’t worry. Masterful eyeliner isn’t about natural talent—it’s about geometry, tools, and patience. In this guide, we will break down the essential tips to help you achieve a professional finish every single time.
1. Choosing Your Weapon: The Different Types of Eyeliner
Before you start drawing, you need to understand the tools. Not all eyeliners are created equal, and for a beginner, the right choice makes all the difference.
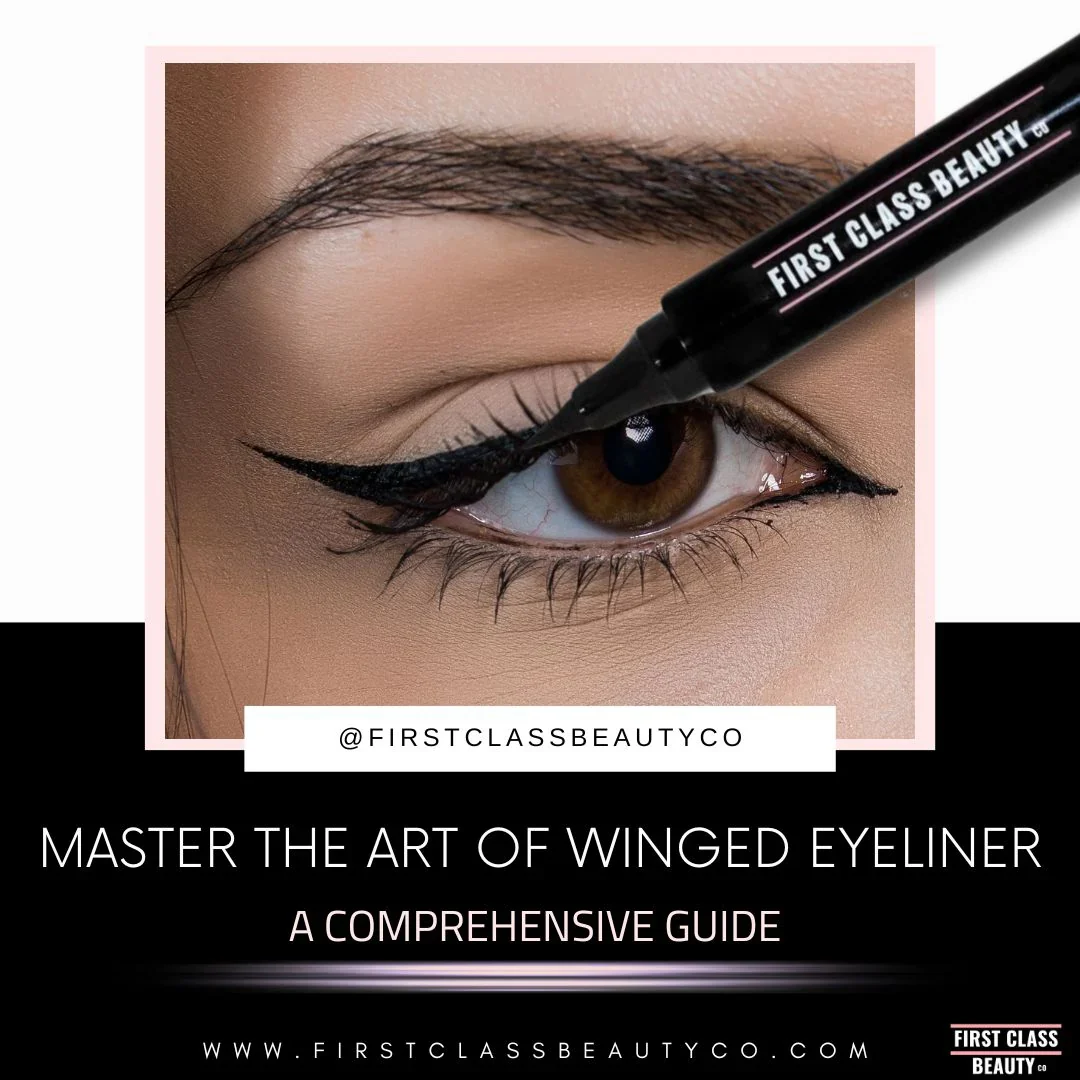
Liquid Eyeliner (The Gold Standard)
Liquid liners come in two forms: felt-tip pens and dip brushes. For beginners, the felt-tip pen (often called a “marker” liner) is the easiest to control. It provides a steady flow of ink and a firm tip that behaves much like a regular pen.
Gel Eyeliner
Gel liners usually come in a small pot and require an angled brush. Professional makeup artists love gel because it offers the precision of a liquid but is much more “forgiving.” It doesn’t dry instantly, giving you a few seconds to smudge or fix mistakes.
Pencil Eyeliner
If you want a soft, smoky look, the pencil is your best friend. While it’s harder to get a sharp “flick” with a pencil, it is excellent for “tightlining” (applying liner to the upper water line) to make lashes look thicker.
2. Preparation is Key: Set Your Canvas
One of the biggest mistakes beginners make is applying liner to “naked” eyelids. Your eyelids produce natural oils throughout the day, which causes the liner to smudge or “stamp” onto your upper lid.
Use an Eye Primer: Apply a thin layer of primer to create a smooth, oil-free base.
Set with Powder: If you don’t have a primer, use a neutral eyeshadow or translucent powder. This ensures the liner “grips” the skin and stays put for 12+ hours.
3. The “Anchor” Technique for Shaky Hands
The #1 reason eyeliner goes wrong is a shaky hand. To solve this, you need to create stability.
Sit Down: Don’t try to apply liner while standing up and leaning into a mirror. Sit at a desk or vanity.
The Elbow Anchor: Rest your elbow on a flat, steady surface.
The Pinky Pivot: Rest your pinky finger on your cheek while you draw. This stabilizes your hand and prevents sudden jerks.
4. Step-by-Step Guide to the Perfect Wing
Instead of trying to draw one continuous line, think of your eyeliner as a series of small, connected strokes.
Step 1: The “Dotted Line” Method
If you can’t draw a straight line, draw dots! Place small dots along your lash line as close to the hair as possible. Once you are happy with the placement, simply “connect the dots.”
Step 2: Mapping the Wing
To get symmetrical wings, look straight into the mirror with both eyes open.
The Angle: Imagine a line extending from your lower lash line upward toward the end of your eyebrow. This is the angle your wing should follow.
The Mark: Place a tiny dot at the outer corner of each eye to mark where you want the wing to end.
Step 3: Draw the Tail
From the outer corner of your eye, draw a thin line toward your mark. Don’t worry about thickness yet; focus on the angle.
Step 4: Connect and Fill
From the tip of your “tail,” draw a line back toward the center of your eyelid, creating a small triangle (a “v” shape). Fill in the triangle and smooth out the transition into your lash line.
5. Pro Tips for Different Eye Shapes
Not every eyeliner style works for every face. Understanding your eye shape is the “secret sauce” to a flattering look.
Hooded Eyes: If your eyelid fold covers your lash line, draw a “Batwing” liner. Ensure the wing is visible when your eyes are open by drawing the flick across the fold.
Monolids: Focus on a thicker, bolder line. Since part of the liner may disappear when the eye is open, a slightly thicker application ensures the definition remains visible.
Almond Eyes: You have the “standard” canvas. You can go as thin or as thick as you like!
6. How to Fix Mistakes Without Restarting
Even the pros make mistakes. If your line is too thick or uneven, do not wash your face.
The Micellar Water Trick: Dip a pointed cotton swab (Q-tip) in micellar water. Squeeze out the excess so it’s not dripping. Use it like an “eraser” to sharpen the edge of your wing.
Concealer Cleanup: Use a flat, stiff brush with a bit of concealer to “carve out” the bottom of your wing. This makes the liner look incredibly sharp and professional.
7. The Final Touch: Mascara and Tightlining
To make your eyeliner look seamless, you must bridge the gap between the liner and your lashes.
Tightlining: Gently lift your lid and run a waterproof pencil along the upper waterline. This prevents that “white gap” that can ruin a dark liner look.
Mascara: Always apply mascara after eyeliner. It blends your natural lashes into the dark line, making the base of your lashes look infinitely denser.